blogs
Qtech Technology Co., Ltd
SMT / DIP / PCB assembly /
Testing / BGA reworking
QUOTE
close
SMT / DIP / PCB assembly /
Testing / BGA reworking


So, if you have an electronics project where you have multiple circuit boards, then you’ll also have to do something to power them up.
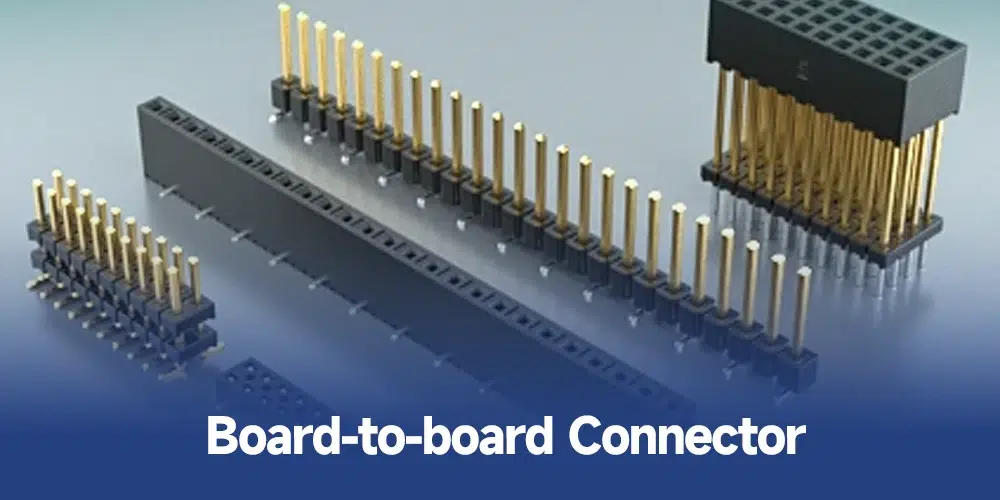
To power up all the circuit boards in a gadget, you will have to use board-to-board connectors, which you can think of as a bridge. It can bridge your PCBs to power them up.
In this article, we’ll highlight everything that you should know about board-to-board connectors.
When you work on an electronics project that has several circuit boards, you also need to power them up.
An intelligent way to give power to them is to use a board-to-board connector. It’s an electronic component that can act as a bridge to connect all the circuit boards and supply them electricity. With a board-to-board connector, you can say goodbye to all the hassle of complex wiring and engineering, and you can enjoy a robust manufacturing process.
If you choose not to use a board-to-board connector, then you will have to use very complex wiring and technique to power up all the circuit boards in your project, and that would be really troublesome.
Offer Physical Connections
The main thing you’d want your board-to-board connectors to do is to give your PCBs a physical electrical connection. You can also expect mechanical connections between the boards from board-to-board connectors.
Save Space
By using board-to-board connectors you can save a lot of valuable space in your gadget. You don’t have to use so many wirings and soldering, which we believe can be a super space saver.
Better Conductivity
By using board-to-board connectors, you will get better conductivity than wires. This means that there’s perhaps a very low chance of short circuit in any circuit board.
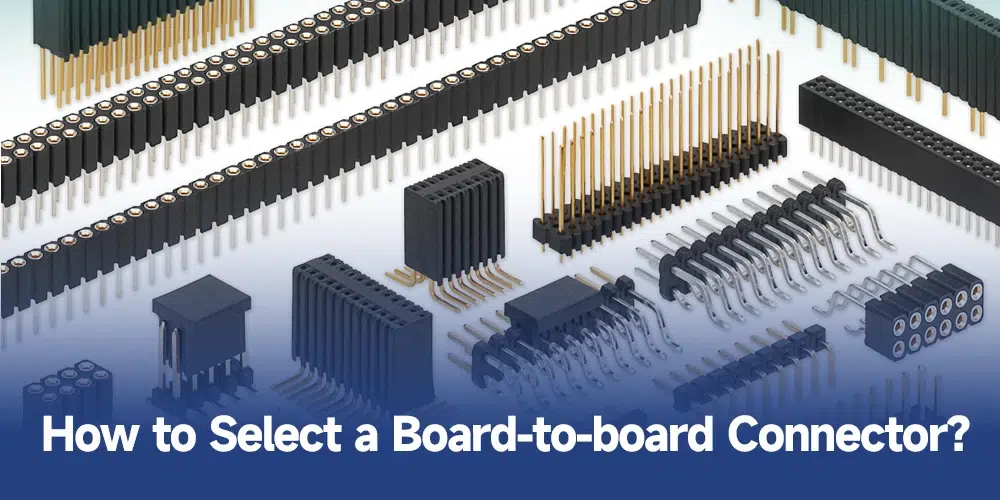
1. Single Row and Dual Row Connectors
So, if your project is very small, simple, and straightforward, then you can use single-row or dual connectors. They’re short and sweet. Many manufacturers use them to cut manufacturing costs and keep the overall design simple.
Features
●They’re available in through-hole and surface mount variations.
●You can get them in single and double rows of pins.
2. High-Density Connectors
If the project has very limited space and you still need to make several connections, then we suggest high-density board-to-board connectors. You don’t have to worry about heat dissipation with these connectors even in a limited space.
Features
●They’re designed for small and compact areas.
●They offer high performance.
●These are made to give a high number of connections in a limited area.
3. Micro & Nano Connectors
If you need a connector for a very small gadget such as wearables, drones, or medical devices, then you can use these micro and nano board-to-board connectors.
Features
●They’re very small and lightweight without compromising on mechanical strength.
●They have a long service life.
4. Rugged Connectors
For gadgets that are made for military equipment or any application with high vibrations, you can use rugged board-to-board connectors. These are made to withstand high levels of vibrations, and physical abuse, and for applications where high mechanical strength is needed.
Features
●They’re super tough and have a high level of tolerance for shocks and vibrations.
●They can last for a very long period and are not expected to fail even in tough situations.

1. Select a Connector
Once you get the main idea ready, you need to identify which connector will be the best for your requirements. To get the right idea, you’ll have to prepare the outline of the project and do the PCB prototype part so that you know how much load you need to supply on the PCBs.
2. Getting Started with the PCB
Now you will have to fabricate the PCBs. Drill holes for all the components, including your board-to-board connector.
After fabricating the PCBs, it’s time to assemble them. This is the part where you’ll embed all the components on your PCBs, including board-to-board connectors.
Mount the components and get your PCBAs ready.
3. Testing
This is the right time to test the entire project. You have all the PCBs connected through board-to-board connectors, so test it out if they all work properly. Take any corrective actions if needed and retest until you cure all the defects.
4. Post-processing
Once the PCBs are fit and fine, you can now do the post-processing part like cleaning, polishing, lamination, etc.
1. Short Circuit
Sometimes some foreign conductive particles can enter the PCB and cause a connection between the pins of the connector. If that happens and the gadget is powered up, your connector will short-circuit.
Solution
Check for any solder bridges and eliminate them (if any). Also, you need to make sure that the pins are well insulated so, even if any foreign particle enters, it cannot short-circuit the connector.
2. Overheating
When you use a weak connector or when the electricity load is too high for the connector to tolerate, then it will start overheating. Many times, loose or poor connections and extreme environmental conditions also cause this issue.
Solution
●You need to check if you’re using the right board-to-board connector.
●Make sure that the soldering is done properly and that you’ve used a sufficient amount of solder.
3. Soldering Issues
Soldering issues such as using too much solder or too little solder can cause solder bridging and loose joints, respectively. If that happens, you might experience a mix of results like short circuits, overheating, poor conductivity, failing PCBs, and a lot more.
Solution
●You need to check and remove excess solder to eliminate the solder bridge.
●If the connections are loose, apply more solder.
1. Number of pins: Calculate how many connection pins you’ll need.
2. Current & voltage rating: Different board-to-board connectors have different current and voltage ratings. Using the wrong one can lead to overheating and/or short circuits.
3. Stacking heights: In case you need to stack your PCBs, you will have to calculate the height between each board. Based on that calculation, choose a connector because different connectors have different stacking heights.
4. Environmental conditions: Choose a connector that can work in the environment where your gadget will be used. If it’s going to be extreme temperatures, use high-density board-to-board connectors.
Now that you’ve got an idea of board-to-board connectors, you might be wondering if choosing the right one can be a big hassle. What if you chose the wrong connector can be disastrous? Don’t worry, you can contact Qtech and get personalized help related to board-to-board connectors. Qtech can also help you select the right connector and implement it in your project nicely.